Why should you get familiarize with microcontrollers?
Why should we even bother with microcontrollers? The answer is simple: today, more and more of the devices around us contain embedded electronic systems powered by which core are microcontrollers.
Whether it’s a car, a refrigerator, or even smart wearables, these devices all share one common feature – a microcontroller as a main part. Understanding how these systems work gives you a huge advantage in modern electronics and embedded development.
Are AVR microcontrollers still relevant?
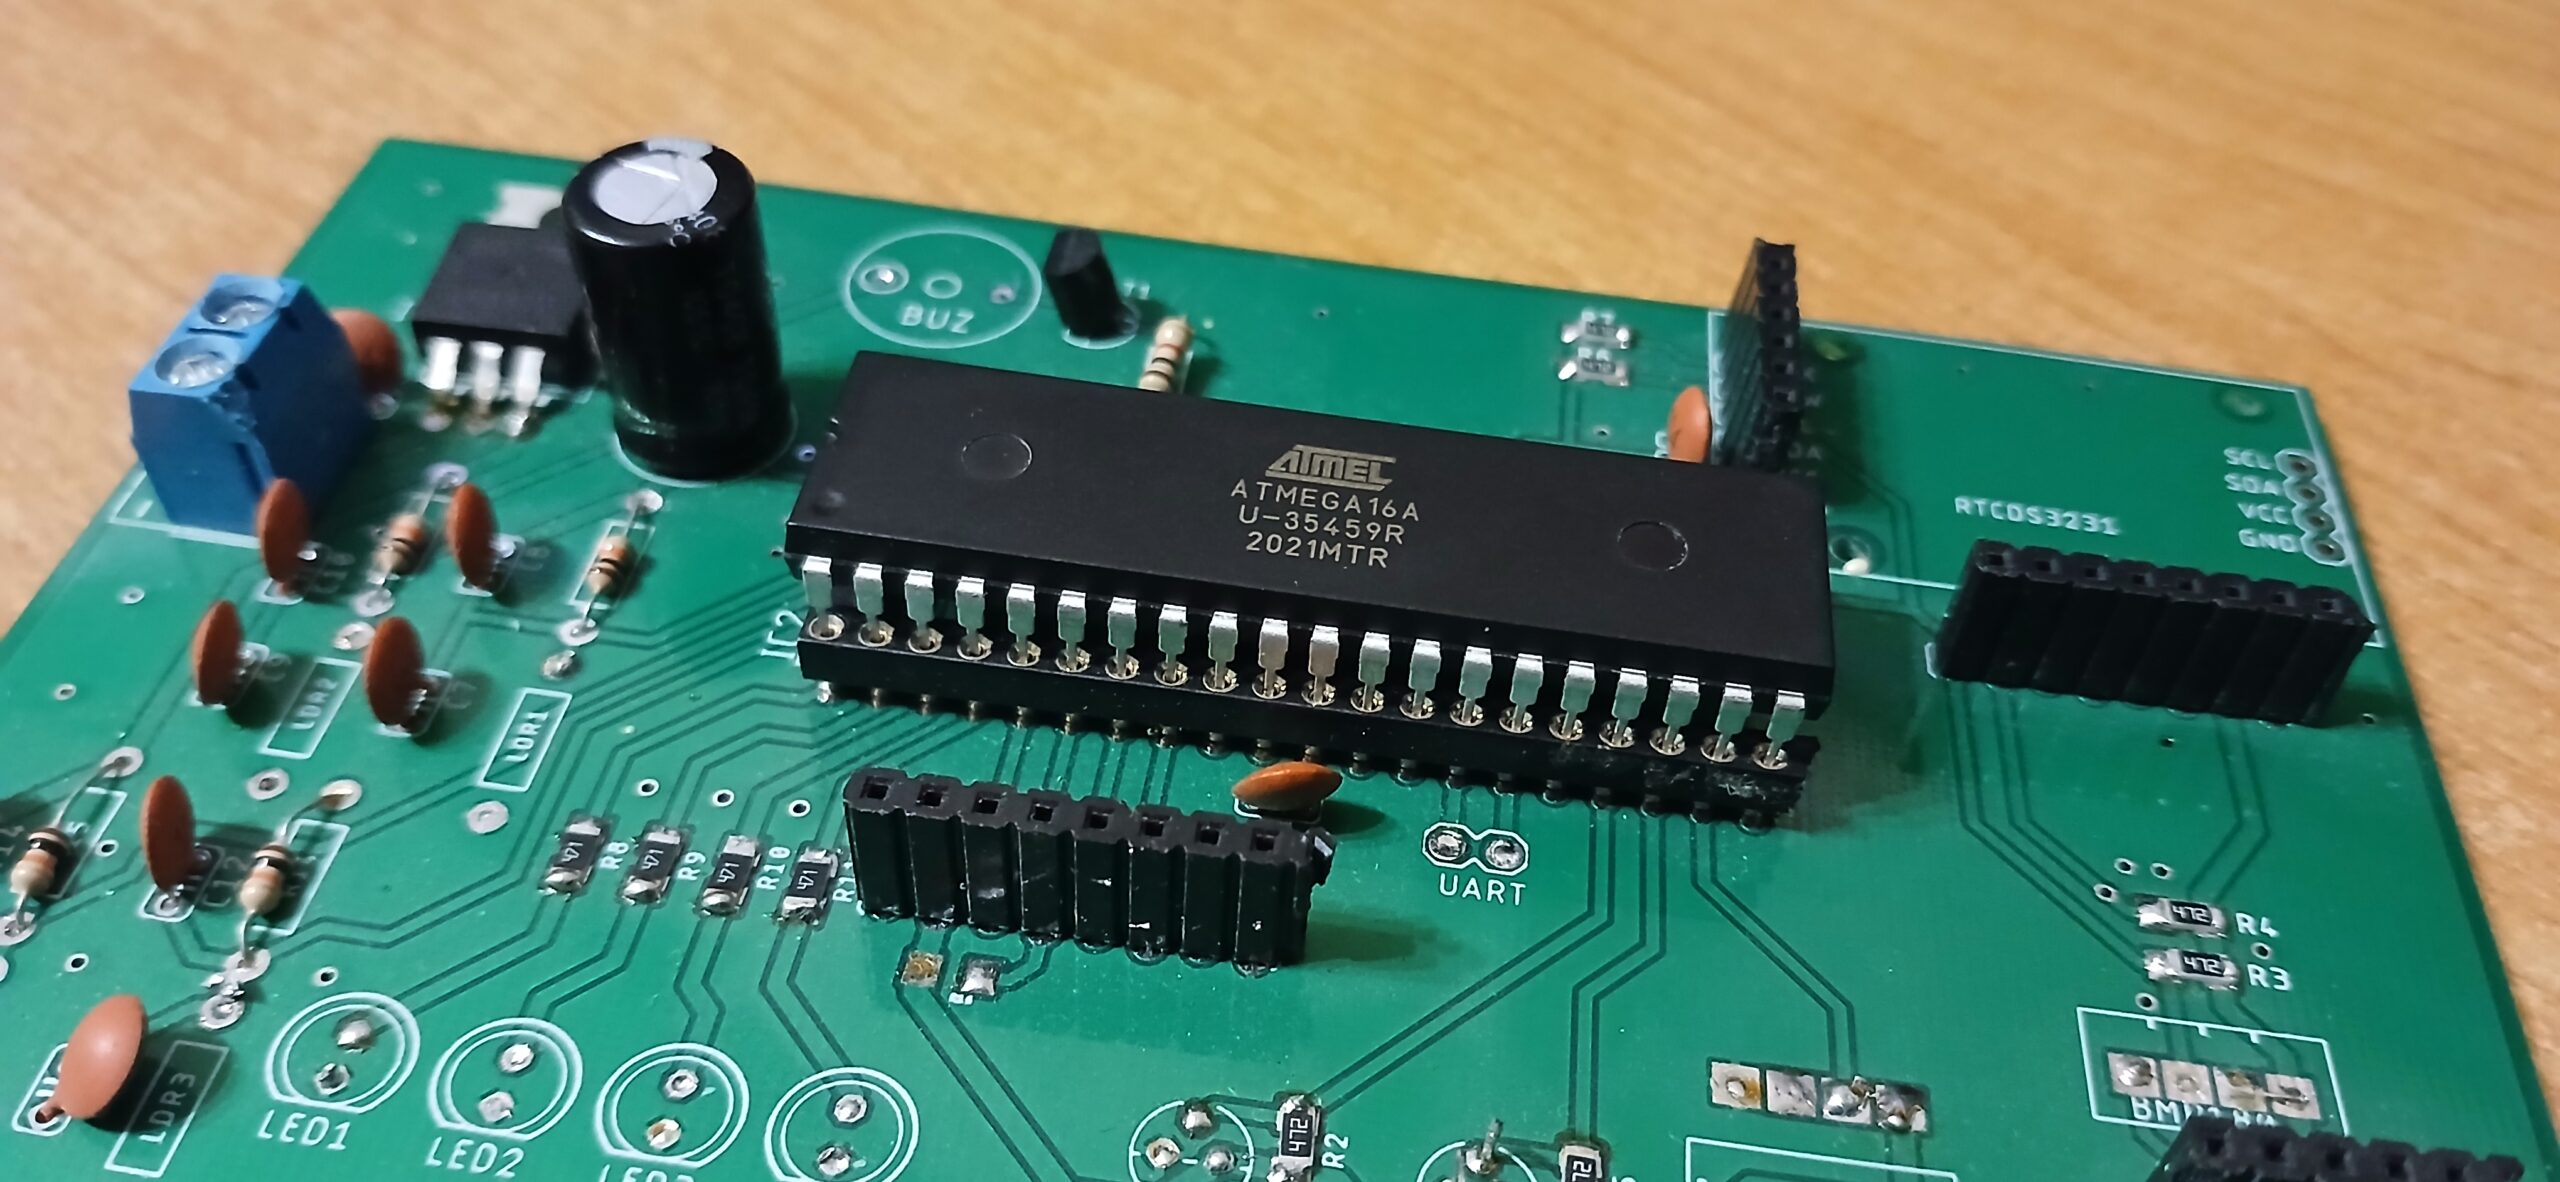
The AVR family of microcontrollers may not be the newest option among wide range of options that are available on the market, but they remain incredibly popular due to their wide availability and affordable price. Besides we can find well described documentation what makes them beginner-friendly.
Learning AVR microcontrollers is a great starting point. Once you understand the way they are built and work, transitioning to more advanced microcontrollers becomes much easier.
And if someone argues that AVR is outdated, it’s worth remembering that a skilled electronics engineer can build impressive projects bases even on old stuff 🙂
Programming language and tools
But what would a microcontroller be without firmware, that is, code? Just an integrated circuit with numerous pins, containing various types of memory and peripheral modules. The real goal, after all, is to unlock the potential hidden inside the microcontroller.
That’s why, alongside the theoretical aspects of AVR microcontrollers, I will also present practical examples based on small “mini-projects”. Nothing helps you understand a topic better than hands-on experience. If you’re not very familiar with programming in C (which is the language we’ll be using), I recommend checking out my C programming course, where both fundamental and more advanced concepts are explained.
We will be writing our programs in Atmel Studio 7, as it allows us to select the target microcontroller, write the code, and compile it – all in one place. When it comes to uploading the software, I will use a paid tool, but I will also show you how to do it completely free of charge.
Wrapping up this post…
… I hope that this introduction has encouraged you to dive deeper into the world of AVR microcontrollers and explore their potential in your own projects. Feel free to follow the upcoming posts, and I hope that with each lesson you will become more skilled and continue expanding your knowledge – that is the main goal of this blog 🙂